

How to use Liquid Nails construction adhesive
A construction adhesive does its best work when the bead is the right size, the surfaces are clean and the piece is held still while the bond cures. Here is the routine we print on every cartridge, with the parts people skip.
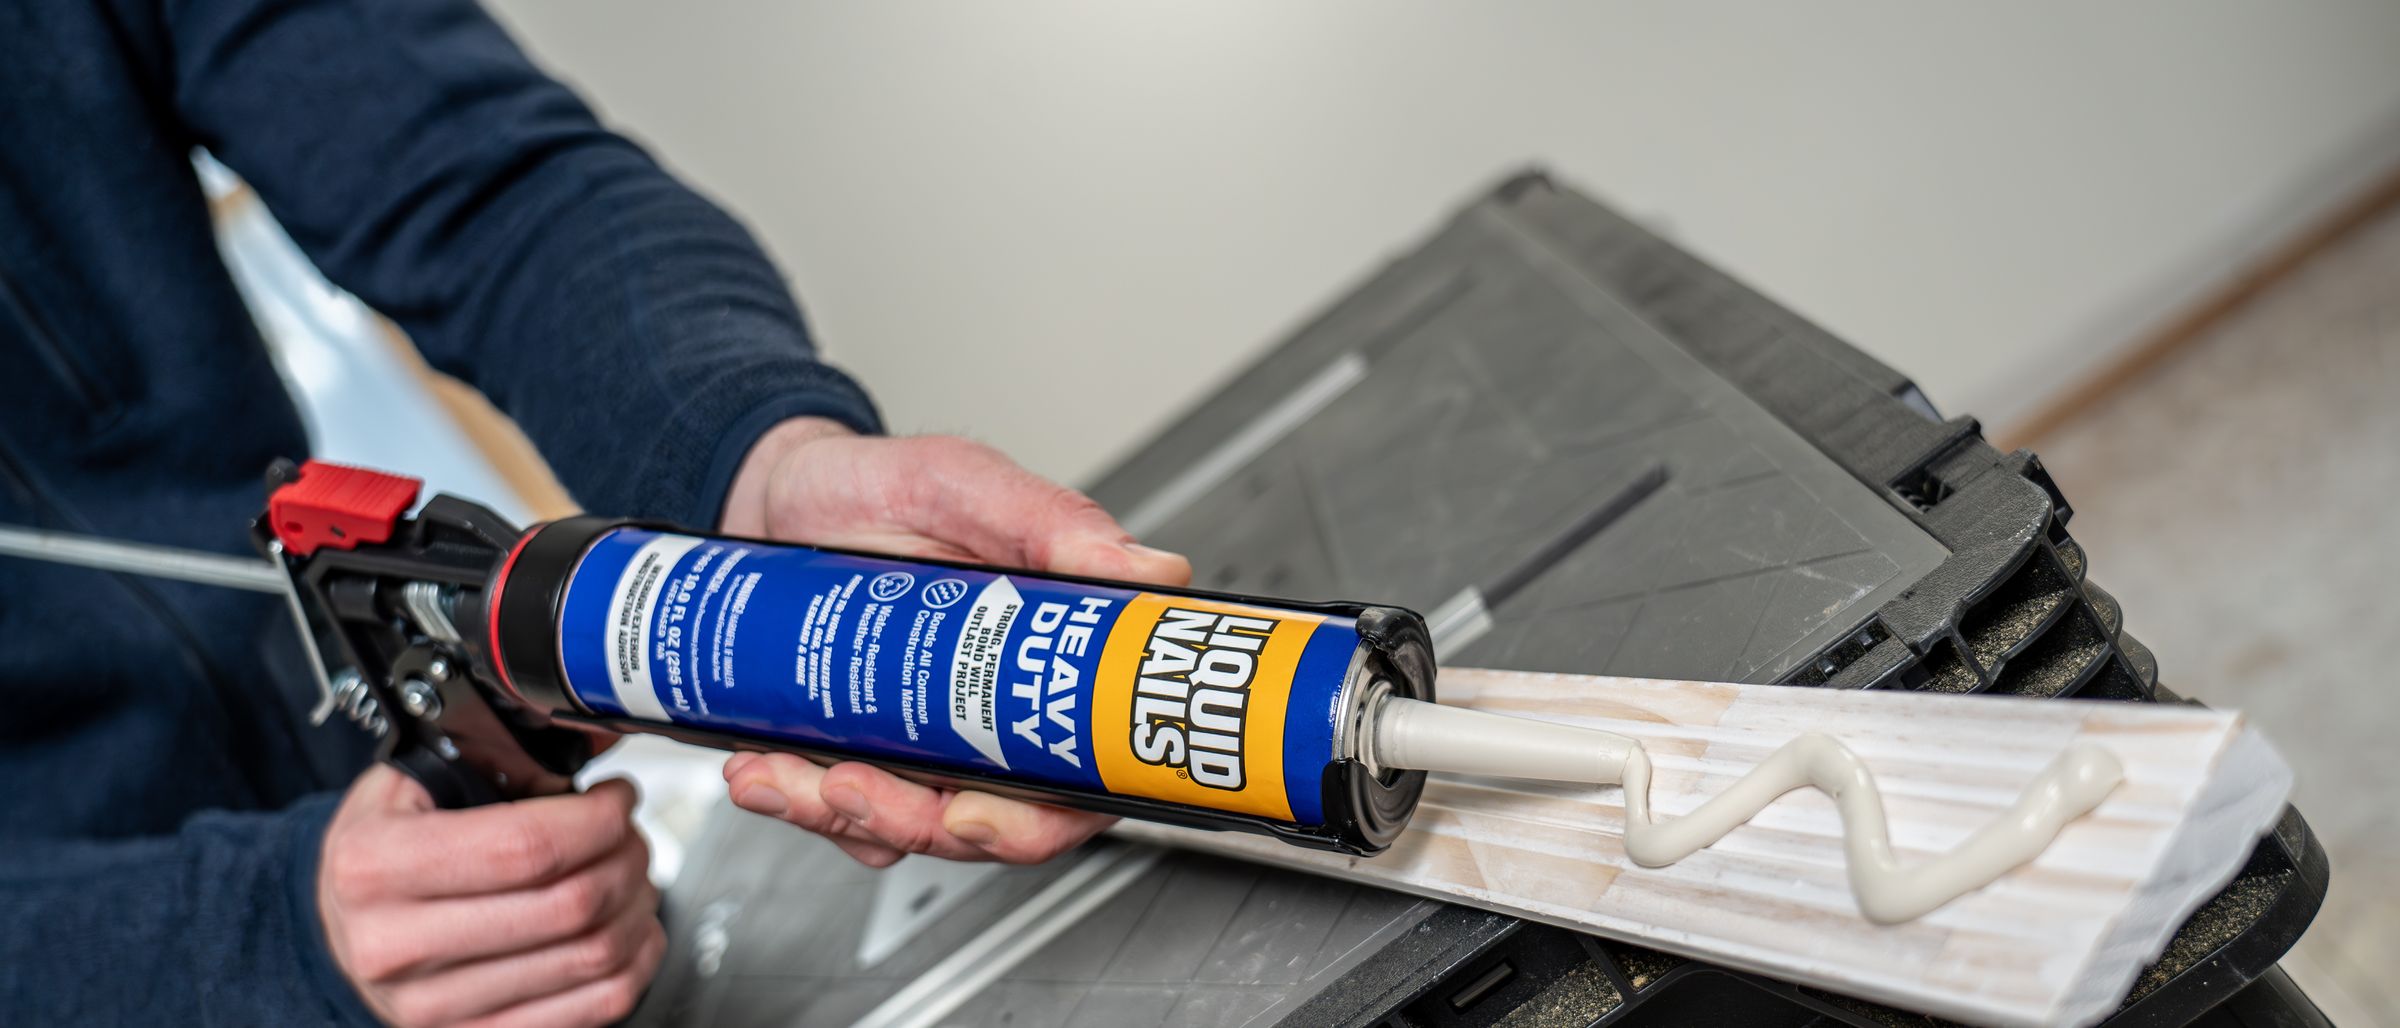
1. Prepare the surfaces
Construction adhesive bonds to what it touches, so what it touches has to be the material, not the dust on it. Wipe sawdust off lumber, brush grit off concrete, let pressure-washed masonry dry, and scrape loose paint. Surfaces should be dry, except for Subfloor & Deck, which is formulated to bond wet and frozen lumber. Apply between 40 and 100 degrees F for most formulas; Extreme Heavy Duty and Subfloor & Deck go lower.
2. Cut the tip and load the gun
Cut the cartridge nozzle at a 45 degree angle. The bead should be about 1/4 in. for framing, paneling and subfloor, and 1/8 in. for trim and small pieces. Puncture the inner foil seal with a long nail or the rod on the caulk gun, seat the cartridge, and squeeze a short test bead onto scrap to see the flow.
3. Run the bead
- Flat pieces (panels, tile board, foam board): a zigzag or serpentine bead across the back, 2 to 3 in. apart, plus a line around the edges.
- Trim and molding: a continuous 1/8 in. bead down the center, with dabs at the ends.
- Subfloor: a 1/4 in. bead down the center of each joist, in a continuous line, and two beads where panel ends meet on a joist.
- Mirrors and glass with Fuze*It: vertical beads so any moisture can drain, never a closed ring.
Apply to one surface only. Too much adhesive squeezes out and makes a mess; too little leaves gaps that do not bond.
4. Press and adjust within the working time
Bring the pieces together within the working time printed on the tube: about 10 minutes for Heavy Duty and Fuze*It, about 20 minutes for Paneling & Molding. Press firmly so the bead spreads and wets both surfaces, then slide the piece a fraction to break the bead and seat it. On tub surrounds, pull the panel away for a minute to let the adhesive flash, then press again.
5. Brace, fasten, wait
The adhesive carries the load after it cures; until then something else has to hold the piece. Use finish nails, screws, clamps, painter's tape, or a brace cut to length. Leave it 24 hours. Full cure is 24 hours to 7 days depending on temperature, humidity and how porous the materials are; non-porous pairs (metal to tile) take the longest because moisture has nowhere to escape.
6. Clean up and store the tube
Wet latex adhesive cleans up with water, wet solvent adhesive with mineral spirits. Leave a short plug of adhesive in the nozzle, cap it or push a nail in, and the cartridge keeps for weeks. Store between 40 and 100 degrees F, cap end up.
Which Liquid Nails construction adhesive for which job
Liquid Nails construction adhesive comes in formulas for specific applications, and the directions above apply to all of them. Heavy Duty is the multi-purpose, durable cartridge for wood, lumber, plywood, drywall, brick veneer and board on interior and exterior projects. Fuze*It is the hybrid construction adhesive for metal, glass, tile and the materials that are challenging for a solvent formula. Subfloor & Deck is the construction adhesive for joists and panels. Interior Projects and Paneling & Molding are the low-odor latex adhesives for finished rooms. Caulks and sealants close the joints the adhesive leaves.
Professionals have relied on Liquid Nails adhesive for decades because the bond is strong, flexible and dependable on the job site; homeowners trust the same tube for a single repair. Every formula is sold at hardware stores, building centers and lumber yards across the United States, the GREENGUARD Gold certification on the latex and hybrid lines is the standard for low-VOC performance indoors, and the concrete, masonry and exterior formulas hold through weather. Done once. Done right.




