

How to glue down a subfloor and stop floor squeaks
A nailed subfloor squeaks the first winter the framing dries. A glued and nailed subfloor does not, because the panel is bonded to the joist along its whole width instead of at a few nail shanks. Here is how the glued floor system goes down.
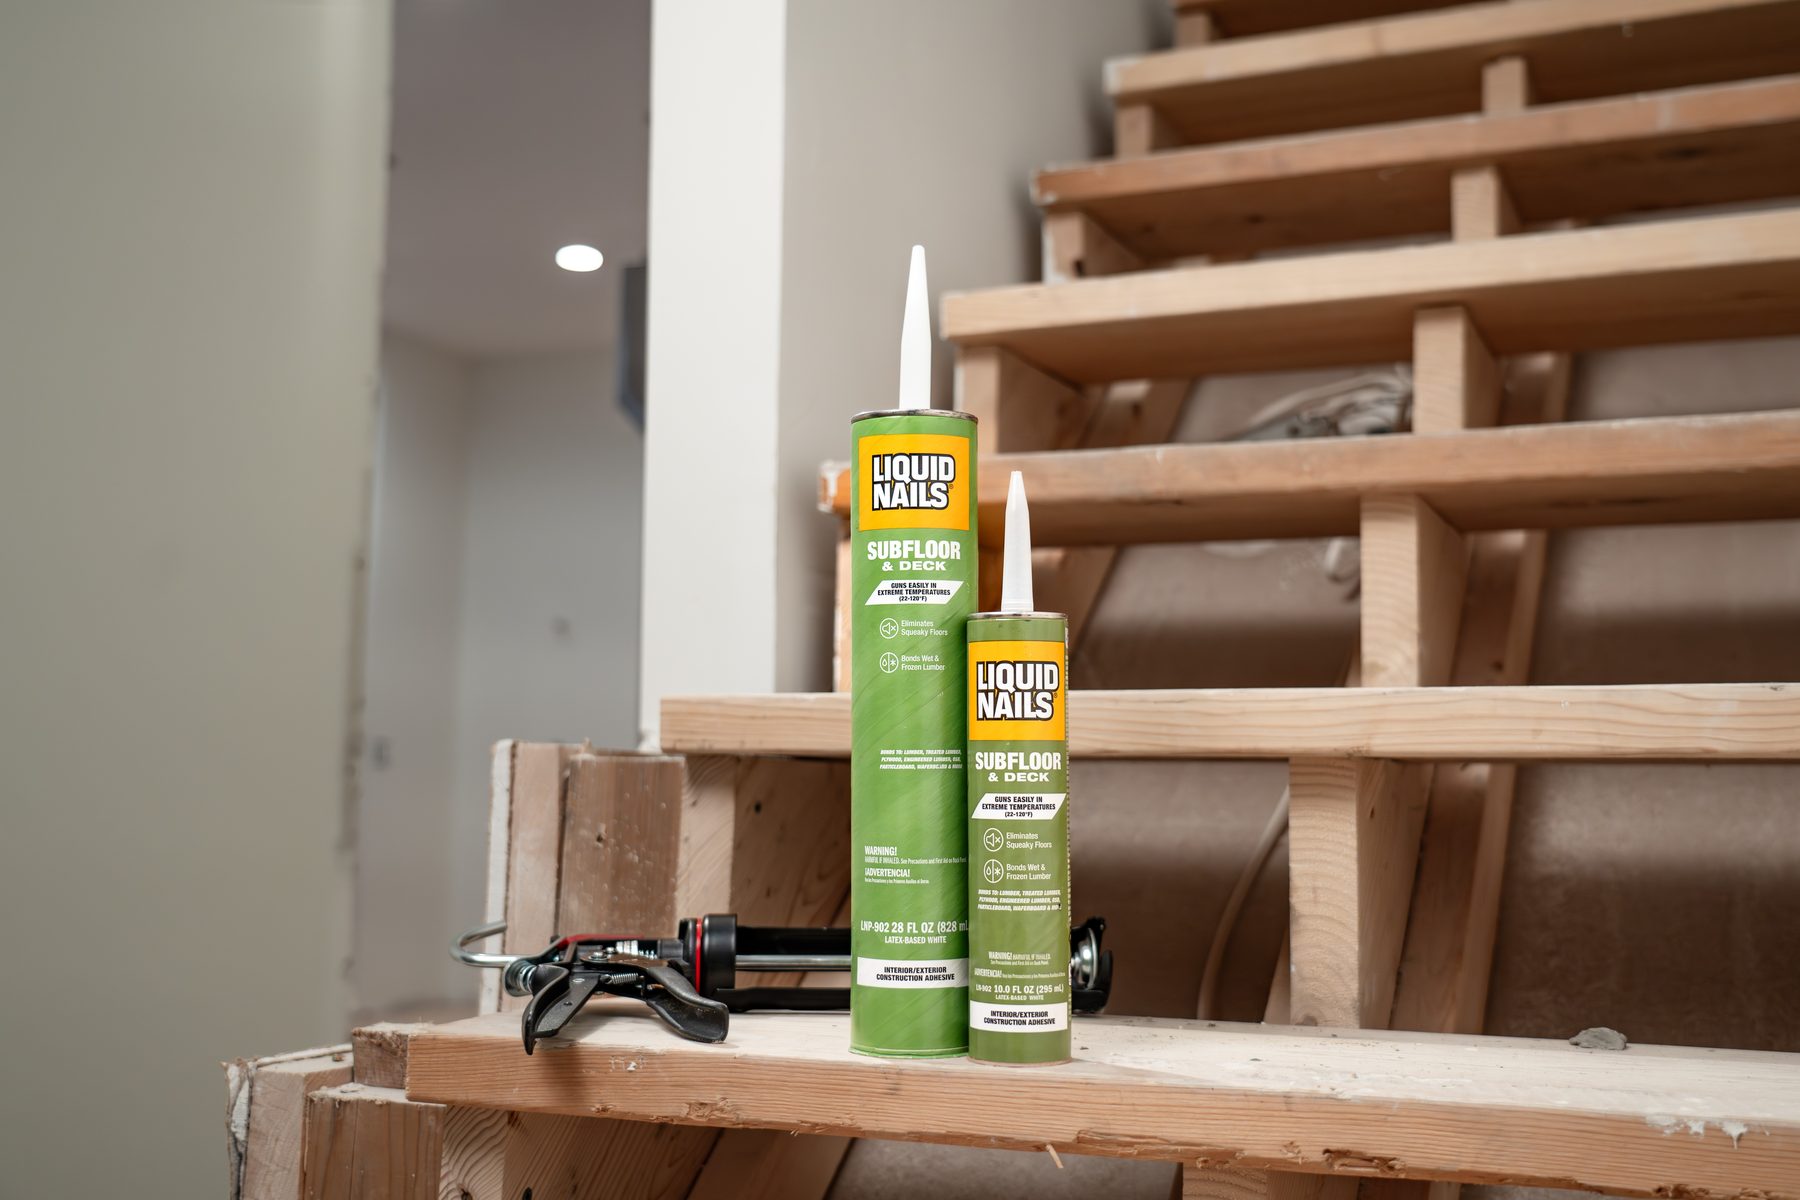
Why floors squeak
Movement. A panel lifts a hair off the joist, the nail shank rubs in the hole, and the floor talks every time someone walks across it. Subfloor adhesive fills the gap between panel and joist, bonds them together and keeps the fasteners from working loose as the lumber shrinks.
What you need
- Subfloor & Deck construction adhesive: one 28 oz cartridge per roughly 80 linear feet of joist.
- A 28 oz caulk gun, a utility knife, chalk line, panel fasteners (ring-shank nails or subfloor screws).
- Panels: tongue-and-groove OSB or plywood rated for subfloor.
Step by step
- Brush debris, snow and ice off the joists. The adhesive bonds to wet and frozen lumber, but not to a layer of sawdust.
- Cut the nozzle for a 1/4 in. bead. Run a continuous bead down the center of each joist, only as far as the next panel or two will cover within the working time.
- Run two beads where panel ends meet on a joist, so both edges land in adhesive, and a bead along the tongue of the previous panel.
- Lay the panel, tap the tongue home with a block, leave a 1/8 in. gap at the ends, and fasten immediately: every 6 in. on the edges, every 12 in. in the field, or per the panel maker's schedule.
- Keep going joist by joist. Do not let a bead skin over before the panel goes down; in hot sun that can be 10 minutes.
- Stay off the floor for 24 hours where you can; full cure is 7 days.
Cold, wet and the AFG-01 spec
The APA AFG-01 specification tests a subfloor adhesive on wet and frozen lumber because that is what a framing crew meets in the field. Subfloor & Deck meets it and guns easily from 20 to 100 degrees F. Keep the cartridges in the cab, not the bed of the truck, and they will flow at 20 degrees.
Fixing squeaks in an existing floor
From below: run a bead of Subfloor & Deck or Heavy Duty along the joist where the panel has lifted, and drive a screw up through a shim block to close the gap. From above, through carpet or wood: drive subfloor screws into the joist at the squeak; adhesive cannot be added once the floor is finished, which is the argument for gluing it the first time.
Subfloor adhesive application, standards and what to expect
Subfloor adhesive applies in a continuous bead and bonds the panel to the joist along its whole length, which is what prevents floor squeaks for the life of the floor. Liquid Nails Subfloor & Deck builds a strong panel-to-joist connection quickly, holds wet and frozen lumber and OSB, and meets the APA AFG-01 standard, the ASTM-based test that subfloor adhesive quality is measured against. The installation takes the same hours a nailed floor takes; the adhesive adds strength and removes the movement. Surfaces must be free of debris, the application temperature on the label must be respected, and the bead stays workable for about 15 minutes in mild weather.
Crews who try the glued floor system report the same experiences: no callbacks for squeaks, stiffer floors, and panels that stay flat through the elements of the first winter. Foam subfloor adhesives in a can set in minutes and need a special gun; the cartridge gel gives a longer window and uses the caulk gun you own. Check the instructions on the cartridge, explore the rest of the subfloor line for 10 oz, 28 oz and case packs, and if a floor is already finished and squeaking, the stronger fix is screws from above into the joist, since adhesive cannot be added later. The materials are simple, the solution is a bead on every joist, and the power of the bond comes from doing it before the panel goes down.




