
How to install a tub surround with adhesive
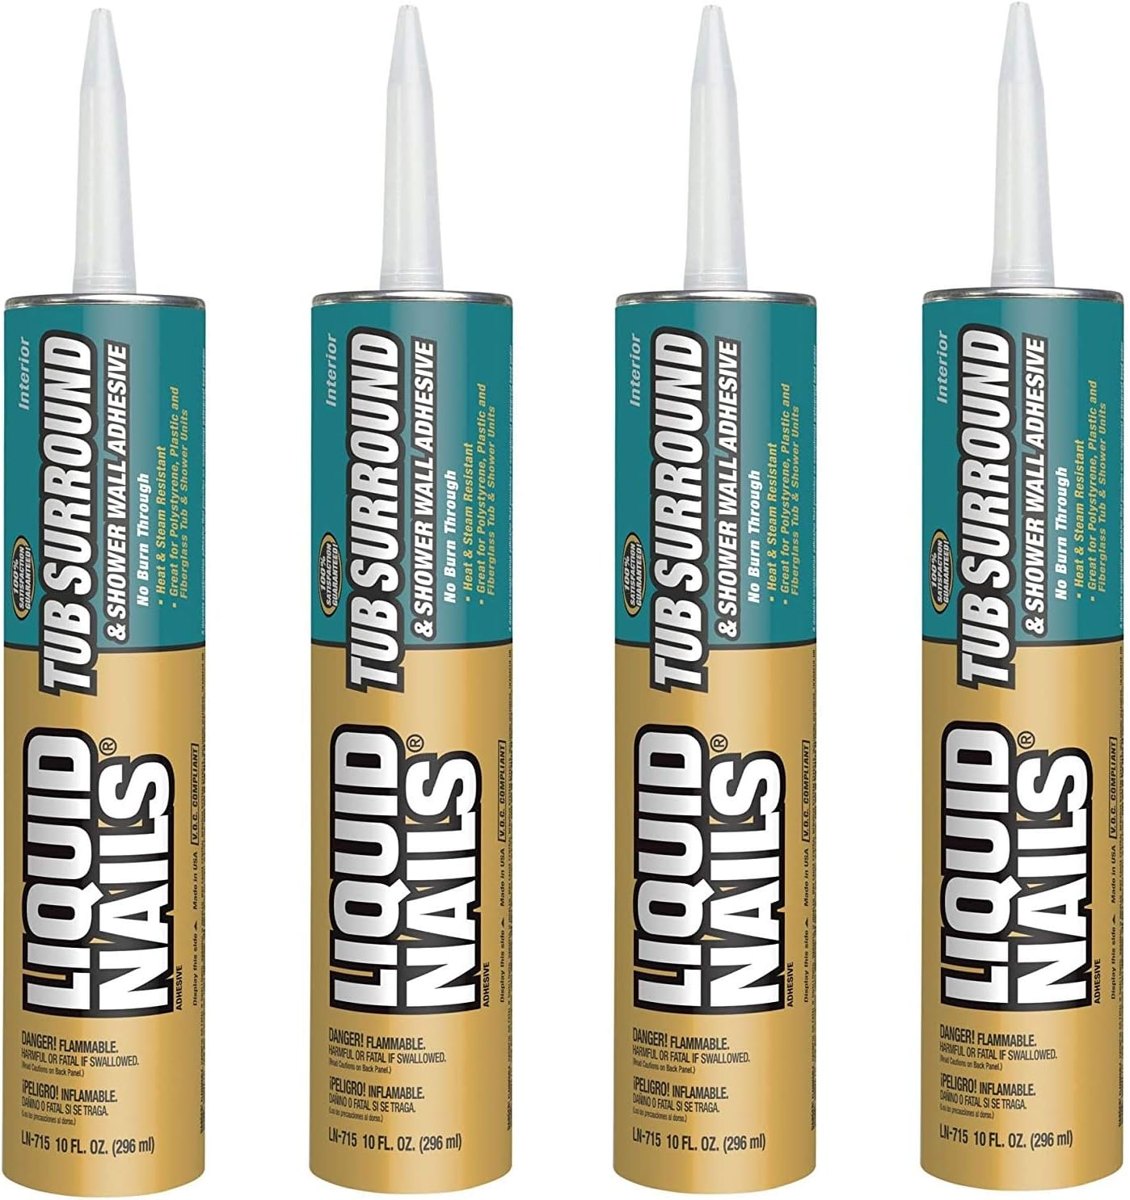
Shower surround kits are light, thin and translucent, and they take steam every day. The adhesive has to hold the panel without burning through it and without showing through it. That is what Tub Surround is formulated for.
Before you start
- Walls: clean, dry, flat drywall, cement board or existing tile that has been degreased. Patch holes and skim ridges; the panel will show them.
- Adhesive: one 10 oz cartridge of Tub Surround (LN-715) per panel, plus one for the back wall, so four or five for a three-wall kit.
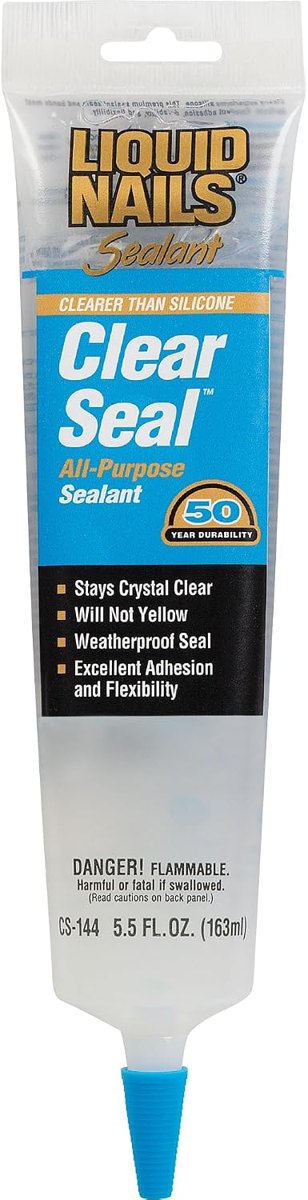
- Tools: caulk gun, level, tape, utility knife, hole saw for the valve and spout, painter's tape, a tube of tub-and-tile caulk for the seams.
Dry fit
Set each panel in place without adhesive, mark the top line and the overlaps, cut the plumbing holes in the end panel with the hole saw, and check that every panel sits flat. Pull the protective film only where the adhesive will go, not off the face.
Apply the adhesive
- Cut the tip for a 1/4 in. bead.
- Run a serpentine bead across the back of the panel, 2 to 3 in. between passes, and a bead around the edges about 1 in. in.
- Press the panel to the wall, then pull it off for a minute to let the adhesive flash. This step is what makes the bond grab a light panel.
- Press again, firmly, from the center out, and check with the level.
- Tape the panel to the wall with painter's tape or brace it with a board and a spring pole for 24 hours.
Order of panels
Back wall first, then the two end walls over its edges, so water sheds over the seam rather than into it. Corner panels of a five-piece kit go in last.
Seams, fixtures and first shower
After 24 hours, pull the tape and caulk every seam, the tub ledge and around the fixtures with a mildew-resistant tub-and-tile caulk. Reinstall the spout and valve trim. Give the adhesive 48 to 72 hours from the install before the first shower.
Why not Heavy Duty
Solvent construction adhesive can soften polystyrene and thin ABS panels, and a dark bead shows through a white panel as a shadow. Tub Surround is light colored, low odor, steam resistant and will not burn through, which is the whole reason it exists.